
How to: Annotation Manager
This guide will show you how to use the web app for your personal annotation project. If you are looking for a guide on how to use the platform as an annotator, see the How to: Annotator guide. If you are in need for a custom solution in any part of the annotation process, please check out Custom Solution Guide.
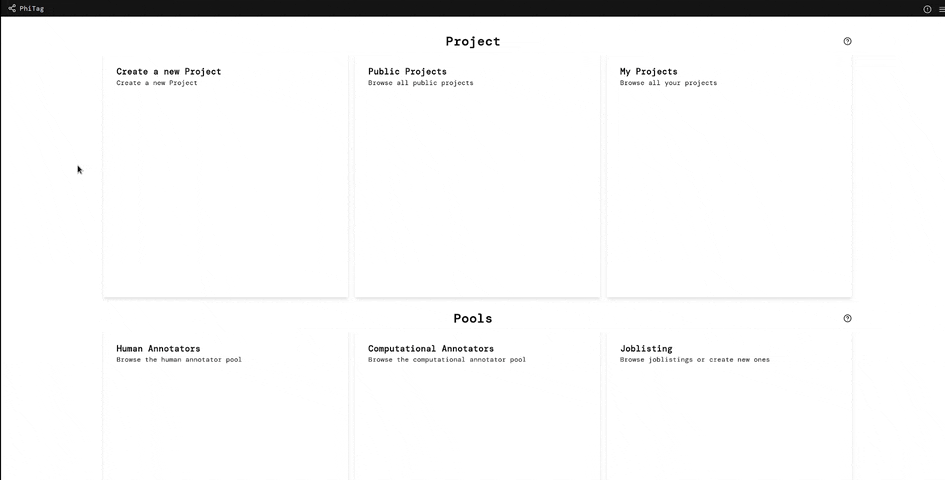
Create a Project
To create a new project, click on the "Create" tab in the project section of the dashboard. This will redirect you to the project creation page. Here you can enter the name of your project and select the language and visibility of your project. You can also add a short description of the goal for your project. After clicking on the "Create" button, you will be redirected to the project page.
 |
|---|
| Create Project |
Data
Now that the project is created, you will need to add some data on which the annotators can work. To do this, click on the "Add Data" button in the top right corner of the "data tab" and select the data type and file. You can also use the corpus pool to add data from the corpus pool to your project.
 |
|---|
| Add Data |
Annotators
Manually Adding Annotators
Now that you have added some data, you will need to add some annotators. To do this, click on the "Add Annotator" button in the top right corner of the "annotators tab". You will be redirected to the pool page. Here you can search for annotators and add them to your project. You can also add computational annotators to your project. Computational annotators are used to automatically annotate data.
 |
 |
|---|---|
| Add Annotator | Add Computational Annotator |
Using The Job Pool to find Annotators
If you do not want to manually add annotators to your project, you can create a job listing for your project. For this you have to navigate to the jobs pool and click on the "Create Job" button. Here you can enter the name of your job, select the project and the if the job has a waitinglist. You can also add a short description of the goal for your job.
 |
 |
|---|---|
| Create Joblisting | Join Project |
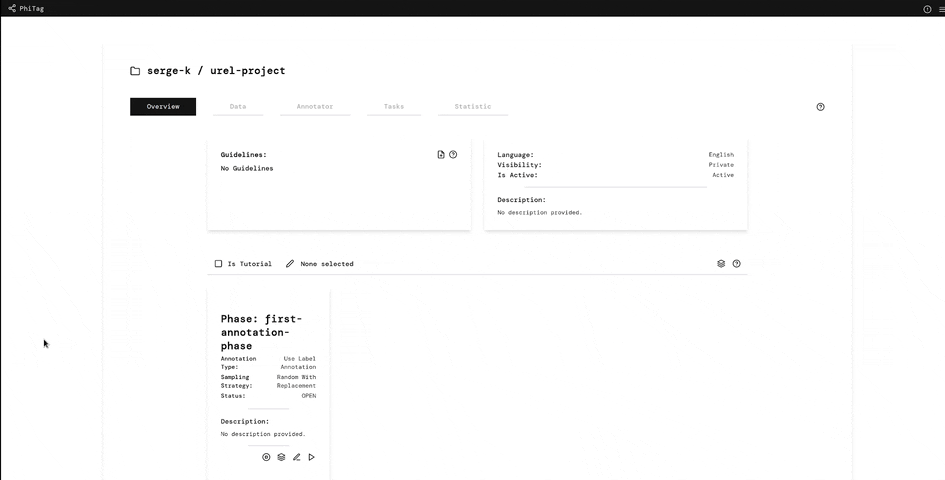
Phases
Finally, now that you have added some data and annotators, you can create a phase for your project. A phase allows you to define what annotators should annotate and how they should annotate it. To create a new phase, click on the plus button on the overview page of your project. Here you can enter the name of your phase, select the annotation task type and sampling strategy. You can also add a short description of the goal for your phase.
 |
|---|
| Add Phase |
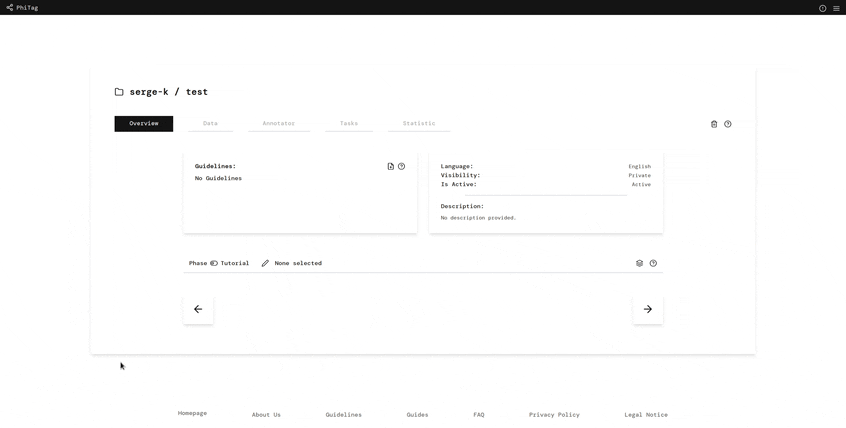
Tutorial
A phase can also serve as a tutorial for your annotators. To do this, you have to select the "Phase is a tutorial" checkbox. This turns the phase into a tutorial phase. A tutorial phase needs, besides the instances, also a gold judgement file. The "Annotation Agreement Strategy" then uses this gold judgement file to calculate the annotation agreement between the annotators and the gold judgements. This allows you to see how well your annotators are doing on the tutorial phase and by specifying a minimum annotation agreement, you can make sure that your annotators understand the annotation task.
To add the tutorial phase as a requirement for your annotators, you have to add the tutorial to the phases as requirements. To do this, click on the "Add Requirement" button on the overview page of your project. Here you can select the tutorial phase as a requirement.
Note, to see the tutorials of a project, you have to switch to the tutorial carousel. You can do this by clicking on the toggle in the top left corner of the phase carousel of the project.
 |
 |
 |
|---|---|---|
| Create Tutorial | Change to Tutorial View | Add Tutorial Requirement |
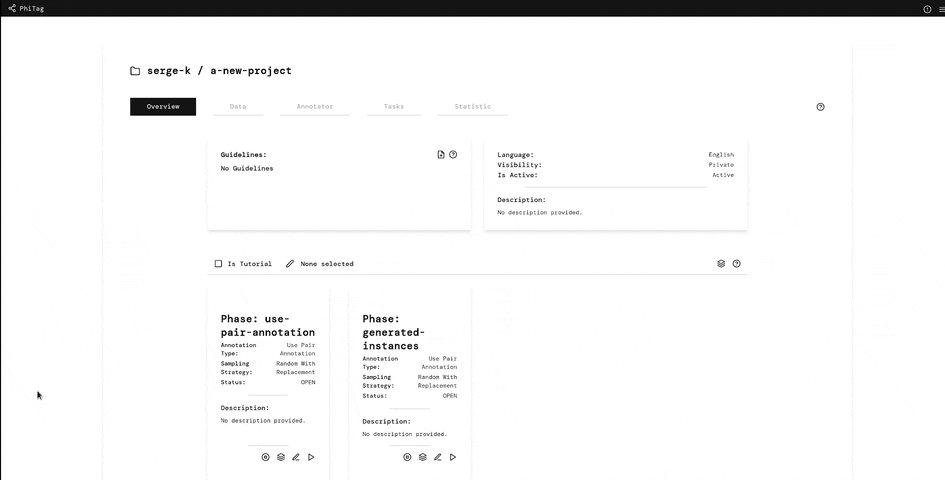
Adding Annotation Instances
After creating a phase, you will need to add some annotation instances to your phase. To do this, click on the phase and navigate to the "instances" tab. Here you can add annotation instances by uploading instance files. Note, that the required format of the instance file depends on the annotation task type of the phase.
 |
 |
|---|---|
| Add Instances | Generate Instances |
Export
The results of the annotation can be found under the judgement tab of the phase. Here you can download the results of the annotation in the required format for the annotation task type of the phase. Also, you can find statistics about the annotation under the statistics tab of the phase and the project. Note, for some statistics you will need to close the phase, after which you will not be able to add new annotation instances nor judgements to the phase.
 |
 |
|---|---|
| Download Judgement | Project Statistics |
Conclusion
This guide showed you how to use the web app for your personal annotation project. If you are looking for a guide on how to use the platform as an annotator, see the How to: Annotator guide.